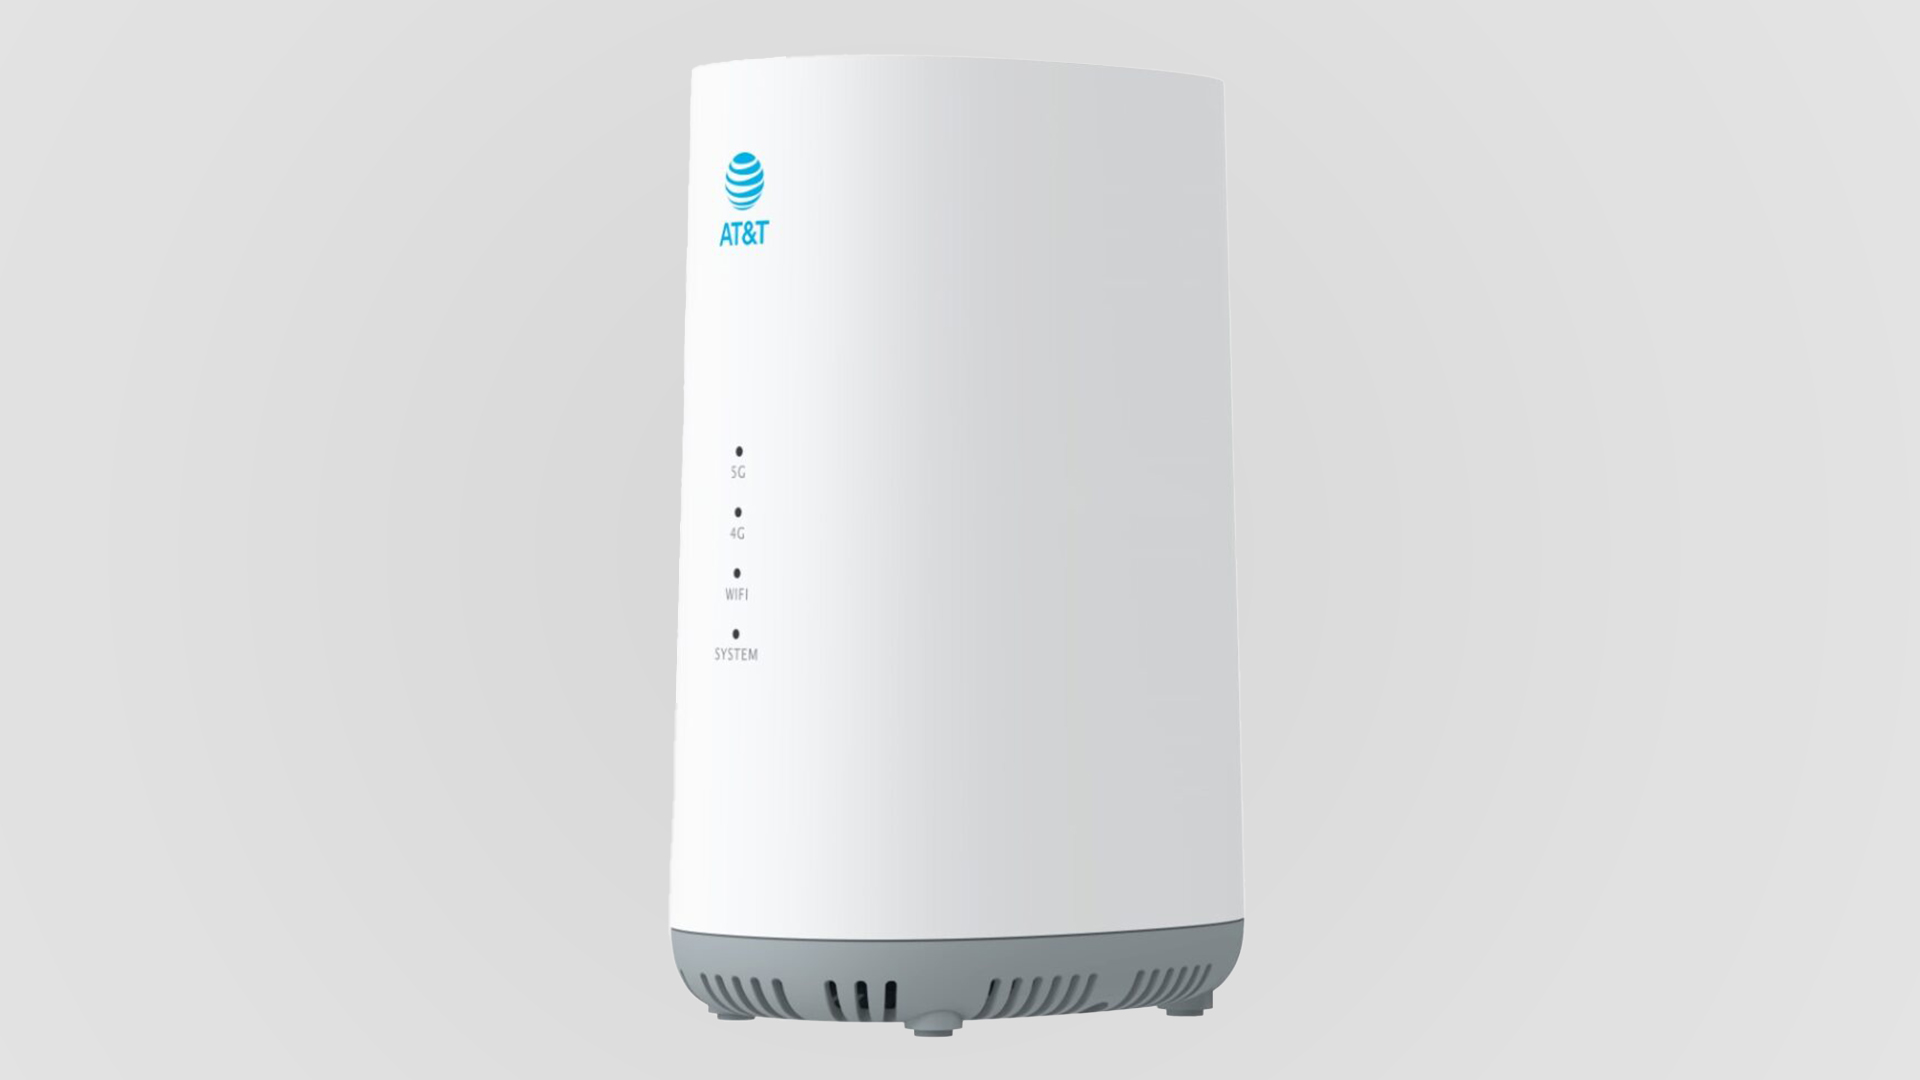
Are you looking for a new router for your system? It is your corner then!
Working with a new router for your system could be a nightmare if you are new to it. Changing its default configuration, including your login credentials and SSID, is a good move before you connect it to your internet. This ensures your network and device are secured against external threats like hackers and malware. Here is an exciting read on ATT Router IP, changing its default name and password. Ultimately, we have some troubleshooting tips for common issues you will likely encounter.
Default AT&T Router Login
When you access your router for the very first time, you do it via a default login. The ATT default router login for the password is in the admin. You can leave the username field blank while logging in for the first time.
The password is always case-sensitive. So, make sure you do not use unnecessary capitalization or spaces. A full default login chart is available to access other WiFi routers’ admin passwords and usernames.
Steps for Logging into Your ATT Router IP?
This is one of the most common routers, and ATT is one of the popular internet service providers. They are indulged in providing services such as cellular connections and WiFi networks. Recently, they have started to provide new ATT passpoint WiFi connections too. Therefore, if you are amongst those who are interested in this router and want to explore how to begin with it, here’s a detailed step-by-step guide –
Step 1 – Connecting your router to a modem –
Plug your ethernet cable wire into your router’s internet port. Connect the other end of your cable to your modem’s ethernet port.
Step 2 – Switch ON your router –
Check where the power button is present on your router. Switch it ON to activate it.
Step 3 – Enter your ATT Router IP address into the address bar of your web browser –
Now, open your web browsing page. You will find 192.168.0.1 or 192.168.1.254 as your default router IP addresses.
Step 4 – Check whether it is working –
Check your ATT router’s IP on your desktop if none of the above is working. It is also indicated in your router login chart. Once you enter the default IP, you gain access to the login page of your ATT router. Log into your account with your login credentials to update your account information. You can also change your router’s settings, check the speed of your network and downloads, etc.
After changing your ATT Router default login details, you might need to remember them if you do not note them down. If this happens, you can reset it with a simple factory reset. This ensures that your system undergoes a reboot and resets your router’s login credentials with the default one. There is a reset button available on the back of your router. You need to press and hold this small button for a few seconds until your router blinks a light.
However, you must be aware that factory resetting your ATT Router IP login details clears any customizations you made after changing your initial default details. You can set up your port forwarding on your device. To do this, you should reestablish your router settings once you successfully log in to your ATT router.
Interesting Blog:- 192.168.100.1: The Router Admin Page With The Easiest Access To Network Security
Can You Secure Your AT&T Router?

Yes, you can! Follow the steps here to secure your router –
Step 1 – Select your default login information
To do this, you first need to search for the name of your WiFi network and select Edit. Scroll down until you see the Change Password section. Modify your existing password and save your new settings. Change your SSID (network name)
Step 2 – You can even change your network name now!
The network name is available in the section where you have your default password details. Give a nickname to your network that is easy for you to remember. Make sure that you do not give any hints from your network name. Once you are done, click SAVE to update your network name.
Step 3 – Updating your router
Constantly check for regular security features and available updates. You can do this under network settings to make sure that you protect it from all forms of external threats.
With these three easy steps, optimize your router’s security and observe it perform at its best. Also, it ensures that you can easily find your network amongst the other available ones.
You May Like:- 192.168.1.254 – The Ultimate Guide To Easy Router Setup
Troubleshooting AT&T Router Connections
Some routers need help to connect. This may cause you to need help accessing your router’s login page. Therefore, you should first clear all the caches on your ATT Router IP from your web browser. Here’s how you do it for all three browsers –
#Google Chrome
- Select More Tools from your browser’s toolbar
- Click on Clear Browsing Data
- Select Beginning of Time followed by Clear Browsing Data to send your request.
#Safari
- Go to the settings menu on your home screen.
- Under Safari, select Clear Cookies. Alternatively, you may have Clear Cookies and Clear Cache options available.
- Confirm your selection as and when prompted.
#Firefox
- Select the Menu bar from the top of your screen.
- Under the Settings menu, select the Privacy & Security option.
- Under the Cookies menu, select Clear Data.
- While unchecking Cookies and Site Data, check off the option Cached Web Content and select Clear.
Note: The above content is purely based on our Google research. We do not owe any rights or technical expertise to validate the information shared.
Also Read:- 192.168.0.1 – Easy Steps To Resolve Common Issues
Conclusion
Please do so if you like what we have presented in this article and feel it is worth sharing with your friends, families, and close circle. Also, if you have something to add further to our article on ATT Router IP, please feel free to write to us or comment below. We appreciate your feedback in improving the quality of information we provide.

